
Invite links
Organizations often send an invite link (/invite/...) so you can browse and enroll in sessions as a trainee. You do not need a separate registration page.
Step overview
Section titled “Step overview”The invite flow has three in-app steps:
- Sign in — verify email and authenticate
- Profile — complete your details (if needed)
- Browse sessions — choose and enroll
-
Open the link you received by email or from your organization.
The URL looks like
https://…/invite/<token>. -
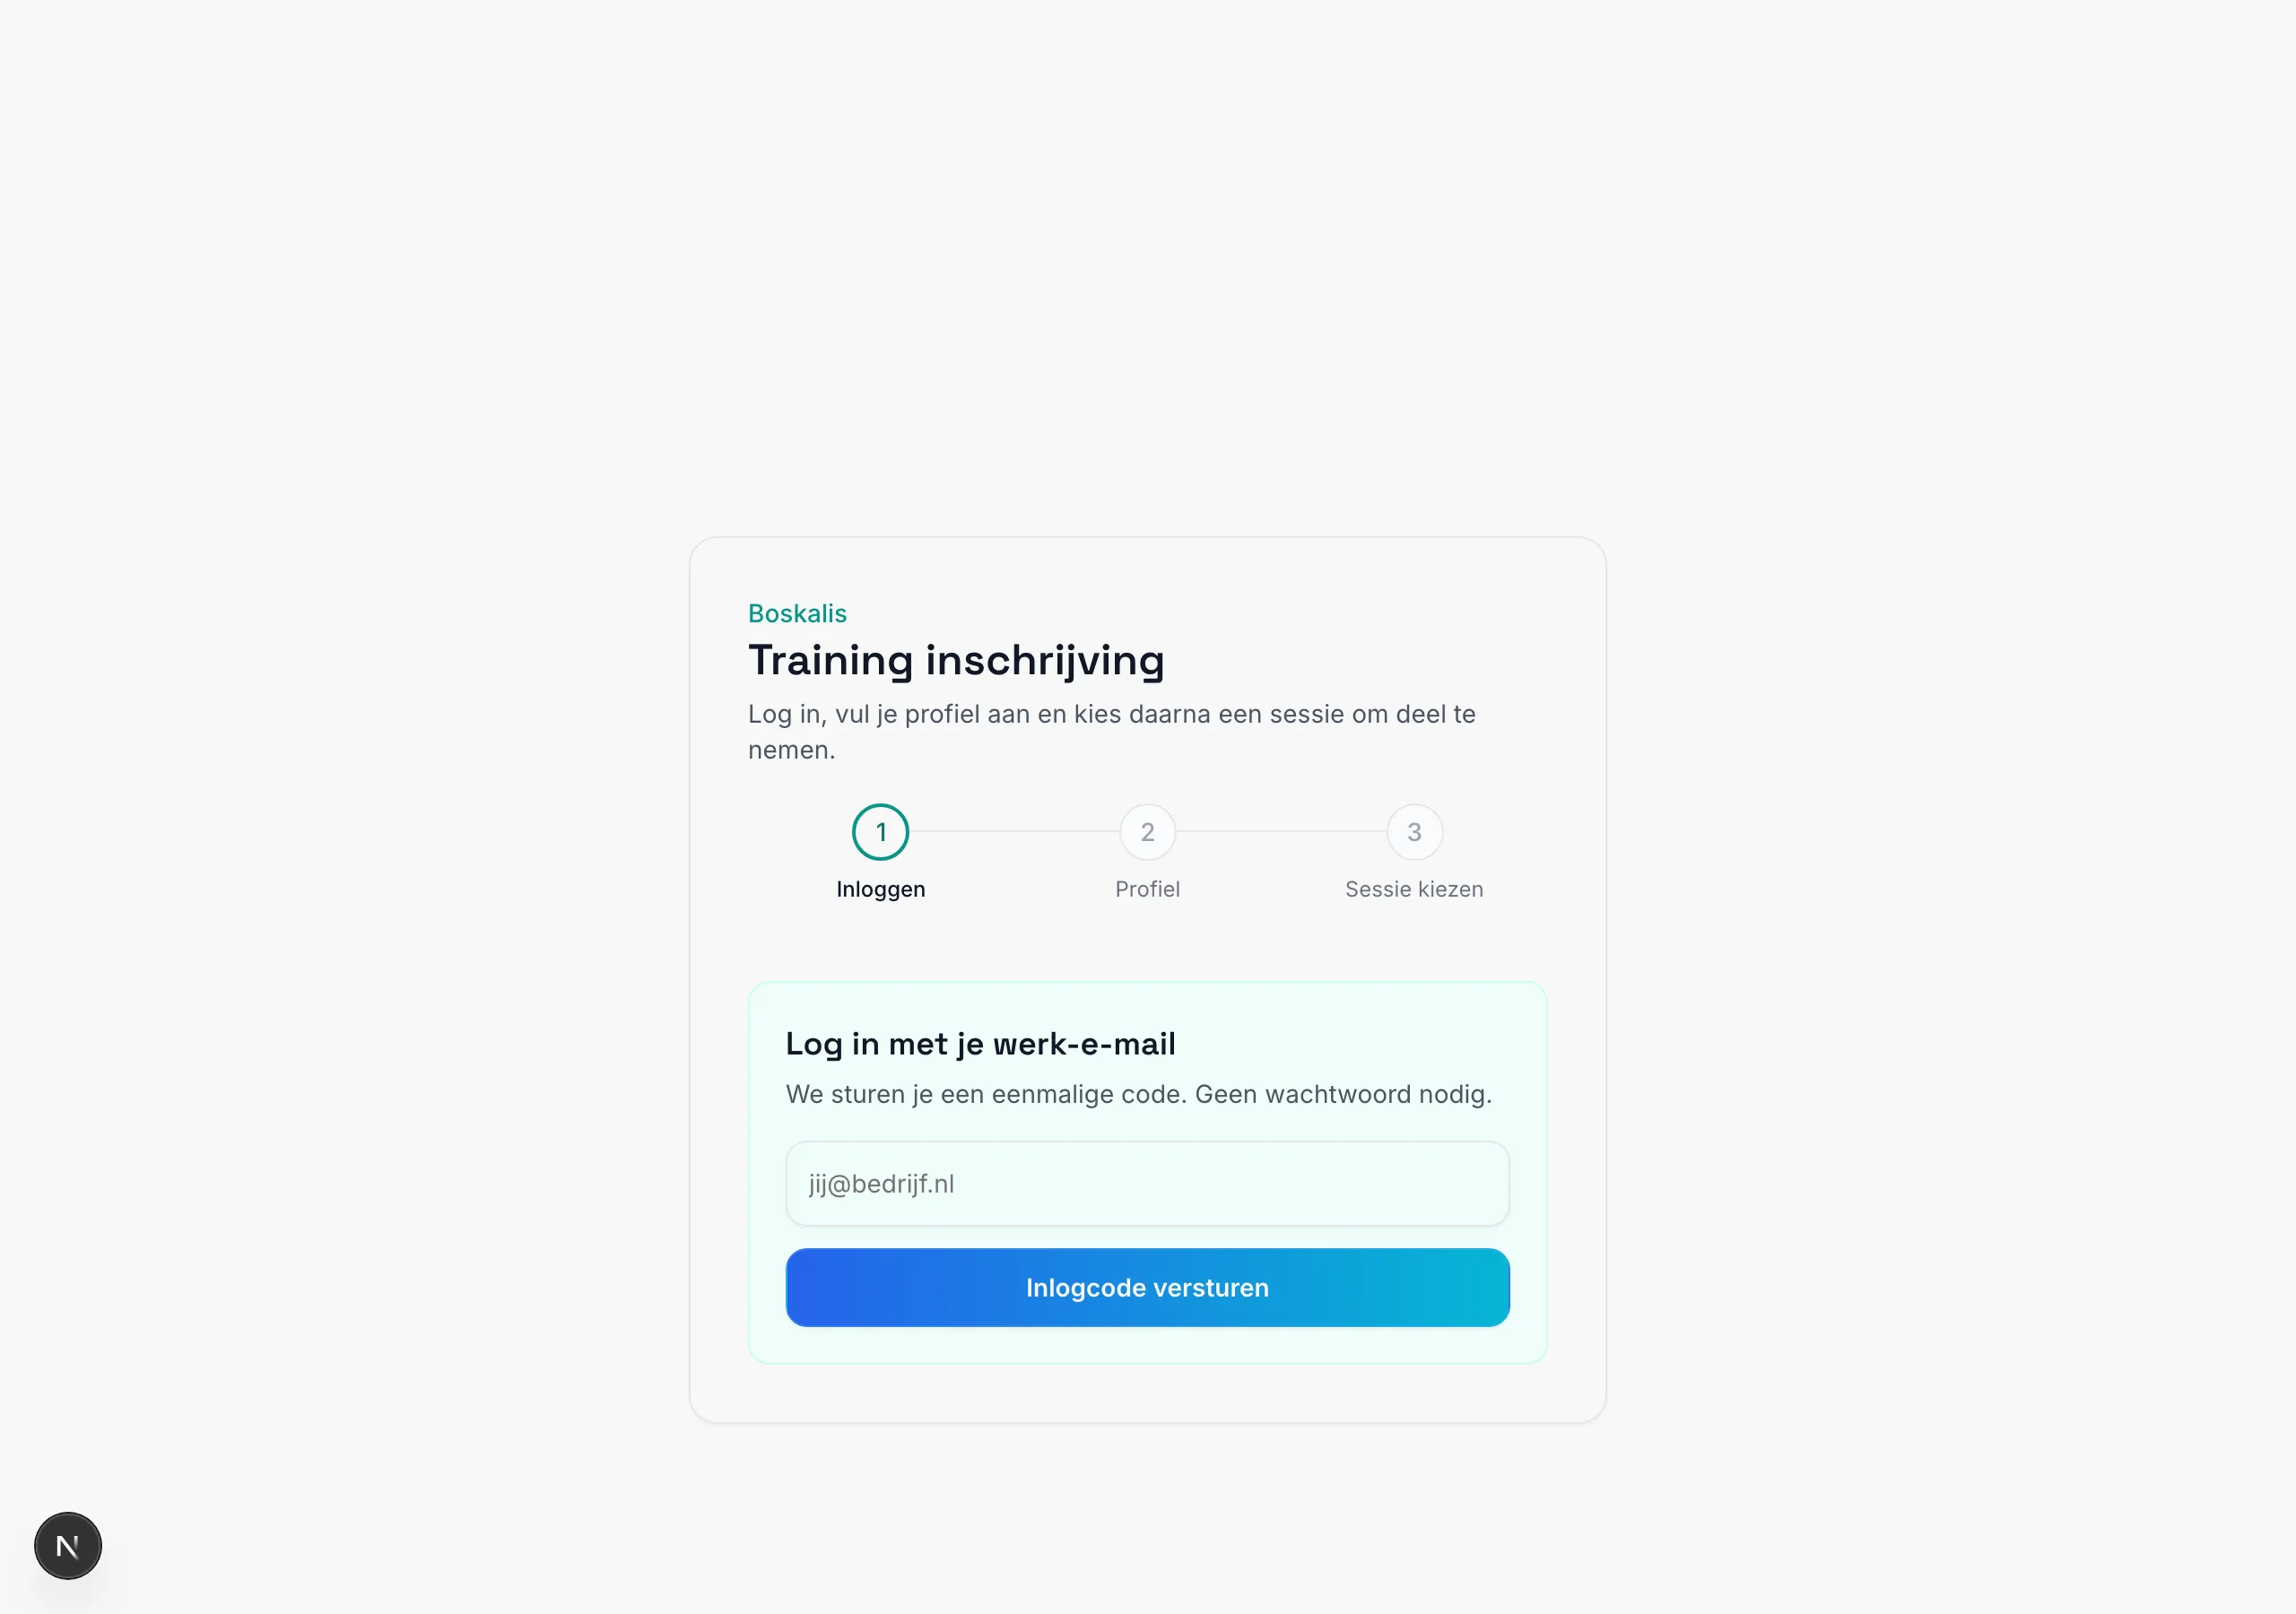
Verify your email and sign in.
Often only an organization email domain is allowed. Enter the requested address and finish sign-in (code, magic link, Google, or password — depending on what the invite shows).
-
Complete your profile if asked.
Fill required fields (such as name) and confirm. Without a completed profile you usually cannot continue to sessions.
-
Browse available sessions and enroll.
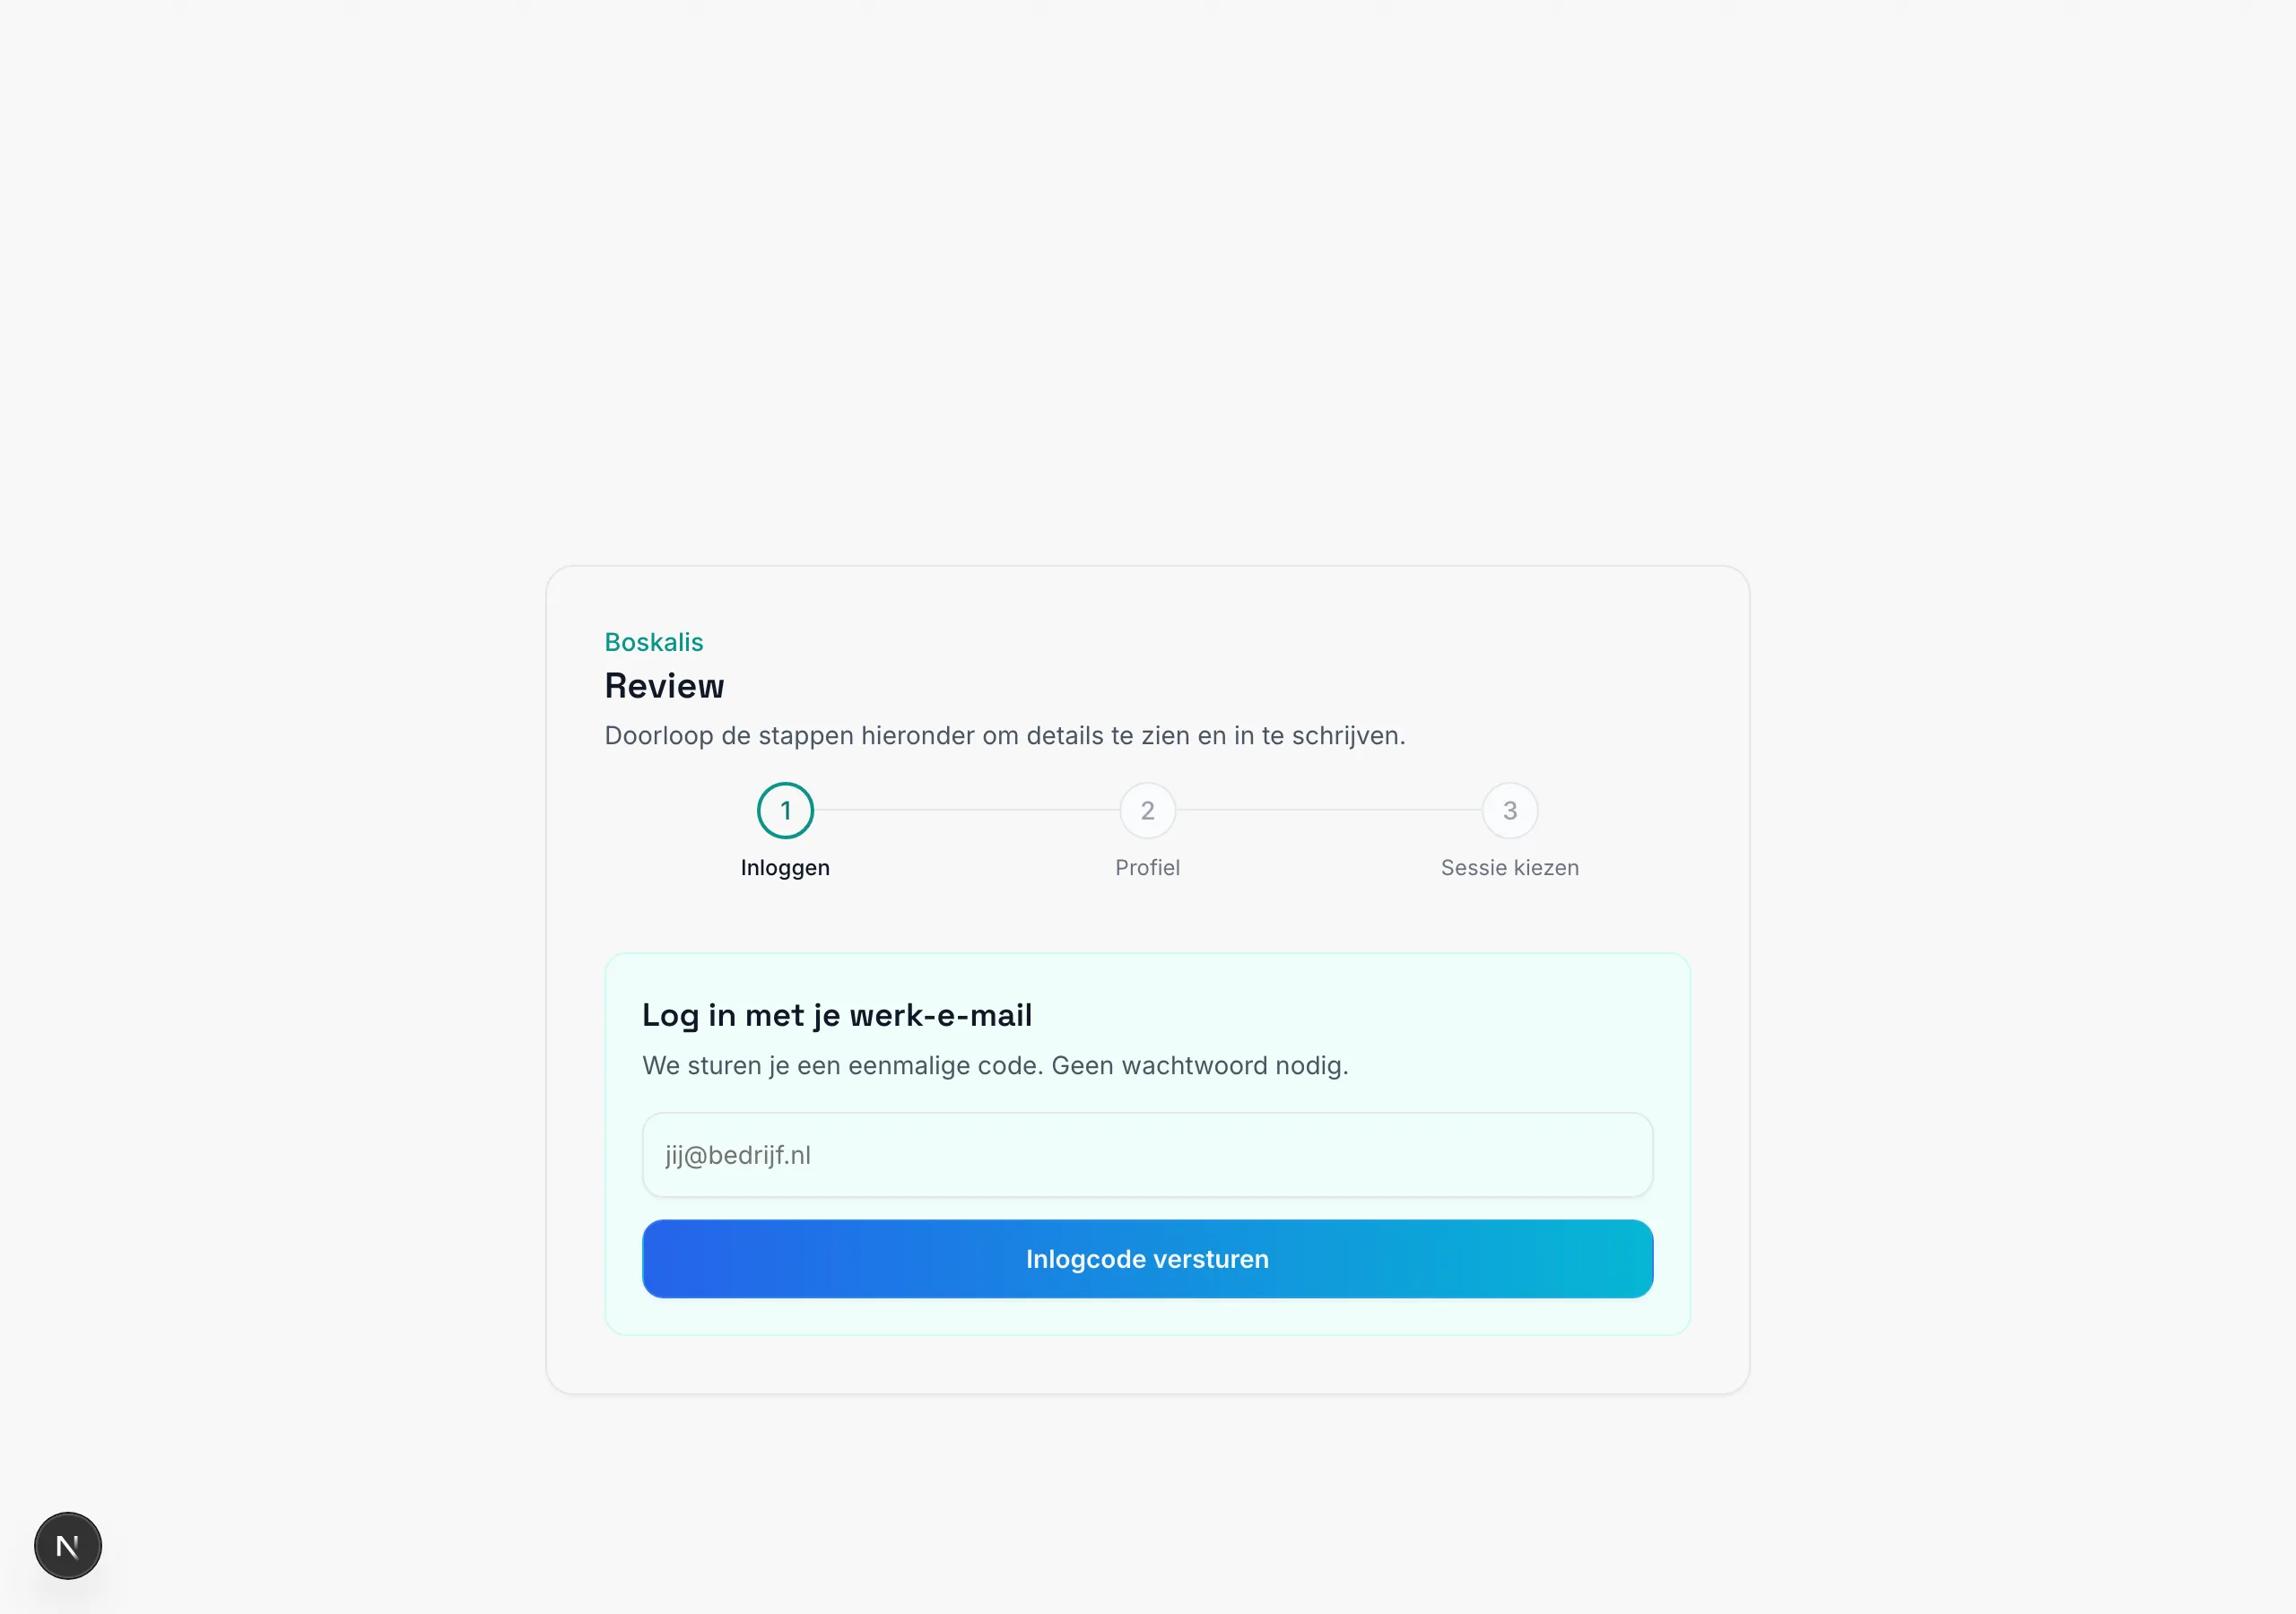
Open a session for details (date, location, capacity). After signing in and completing your profile, enroll in the session(s) you want to attend.
-
Confirm enrollment by email.
After enrolling you often receive a confirmation email. See Confirming enrollment.
Common issues
Section titled “Common issues”| Issue | What to do |
|---|---|
| Link broken / expired | Ask your organization for a new invite |
| Email not allowed | Use the domain/address you were invited with |
| No sessions visible | Sessions are full, not published yet, or outside the invite scope |
| Already enrolled | Open the app as a trainee to see your sessions |
Afterward
Section titled “Afterward”After a successful enrollment (and any email confirmation), you will find your trainings in the trainee dashboard. Role-specific guides for that are coming; see Next steps.